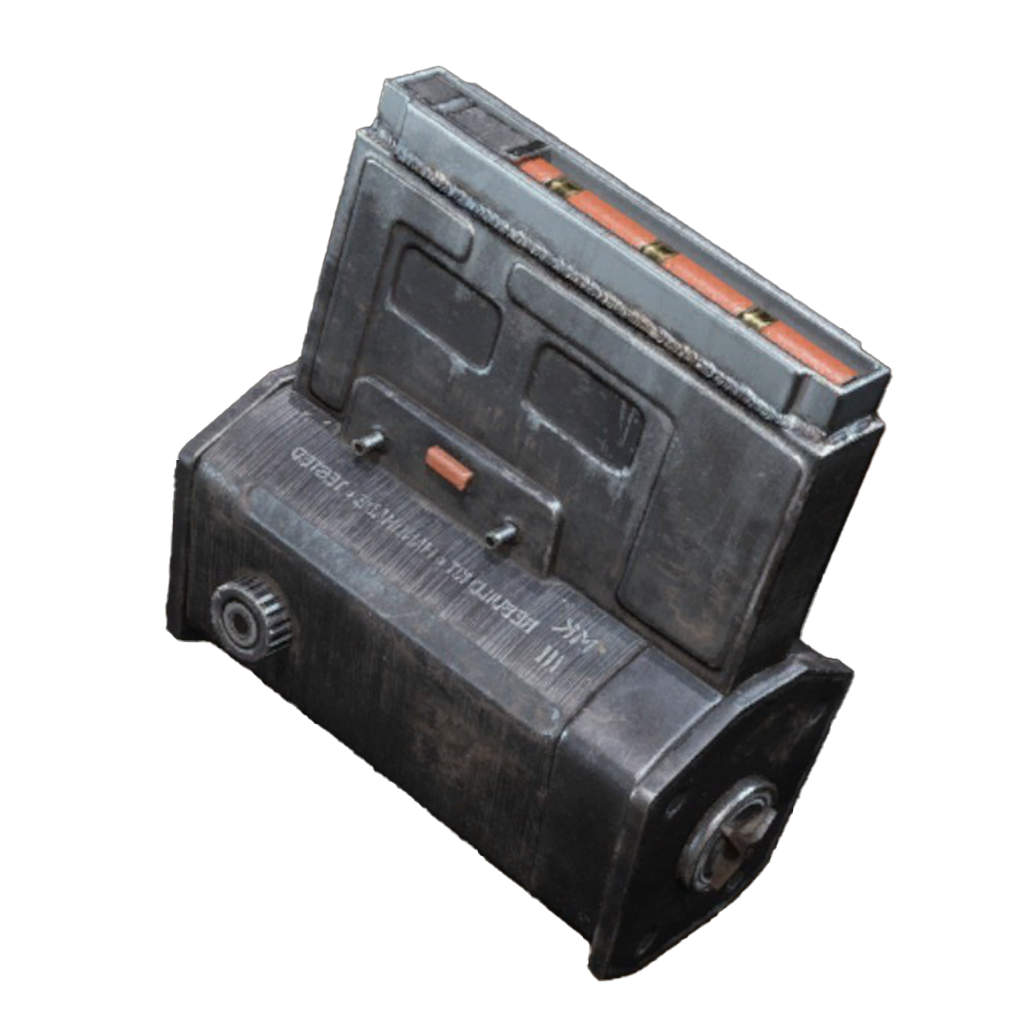
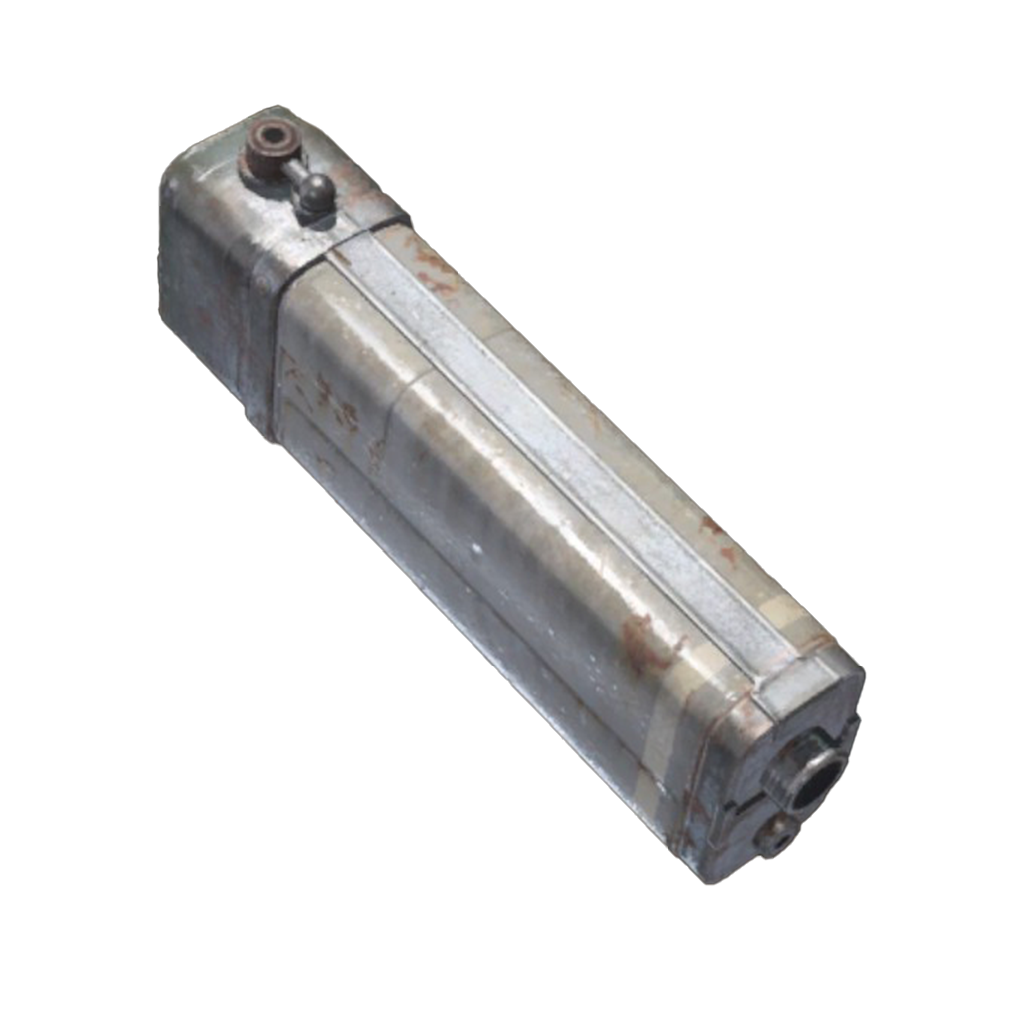
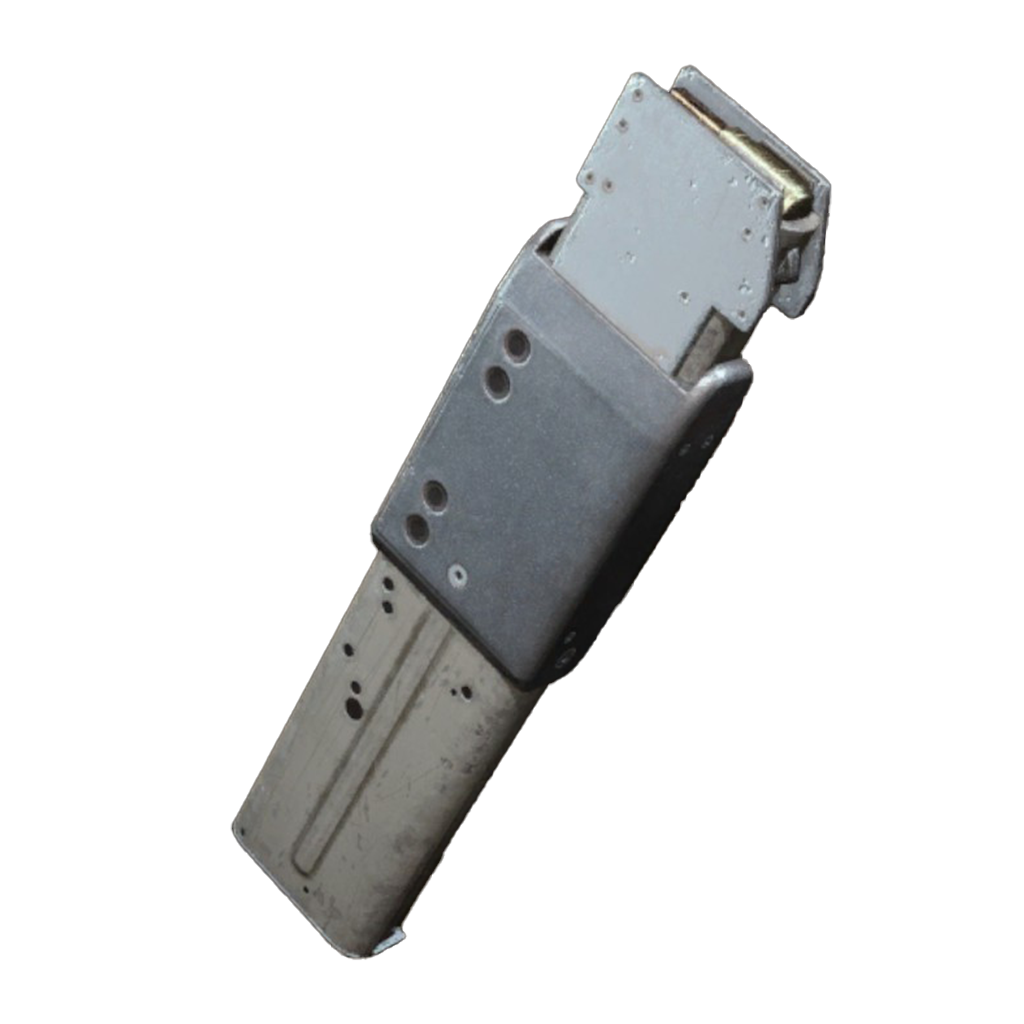
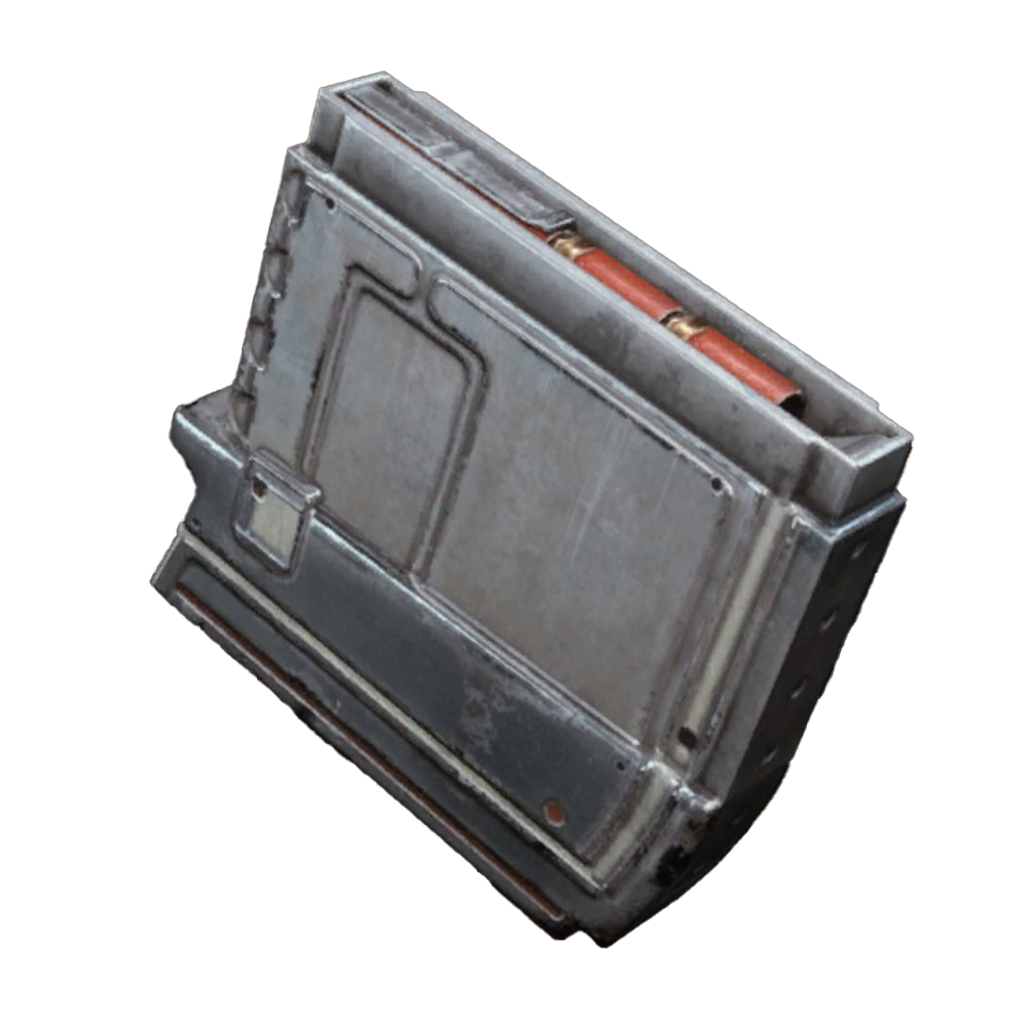
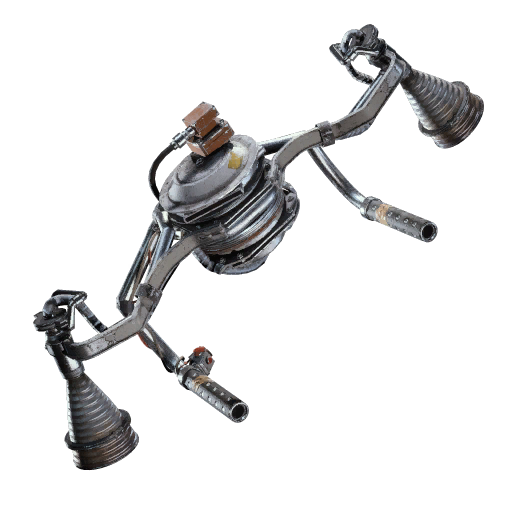
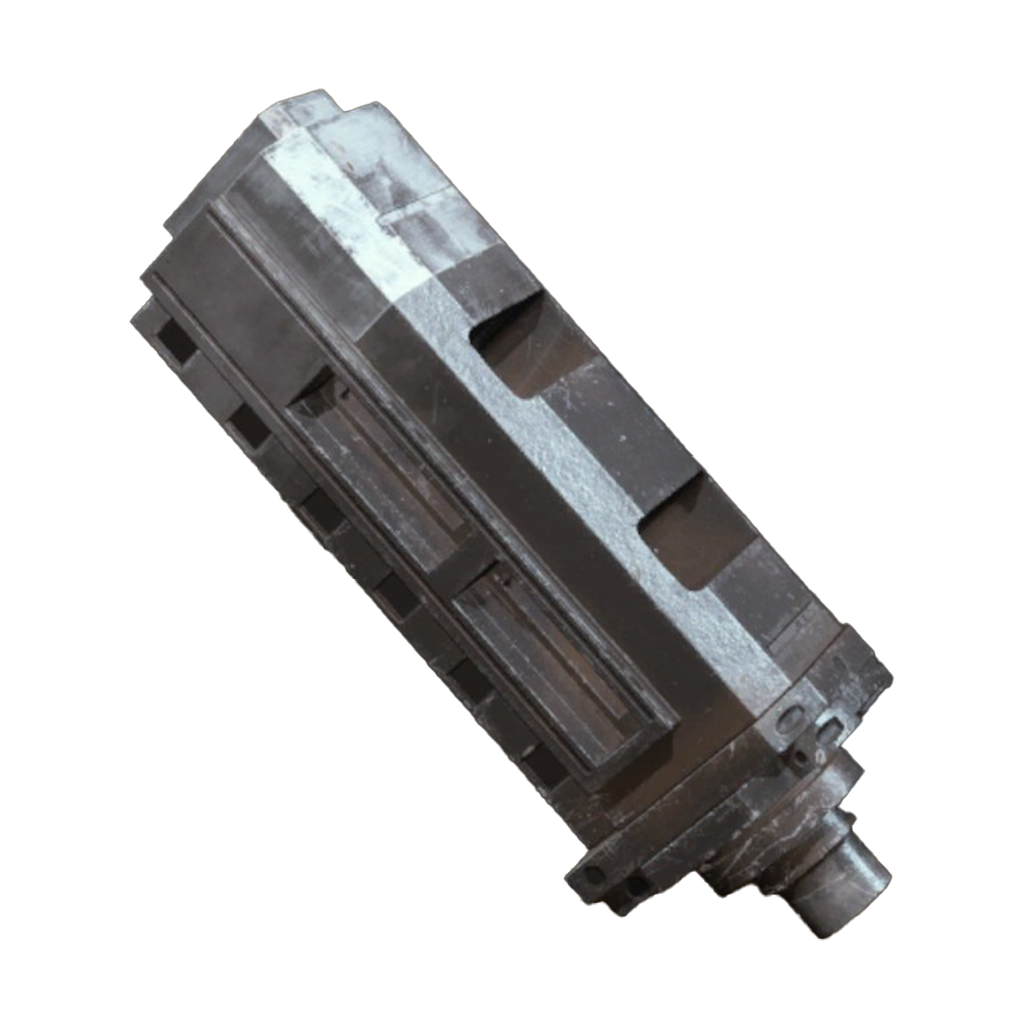
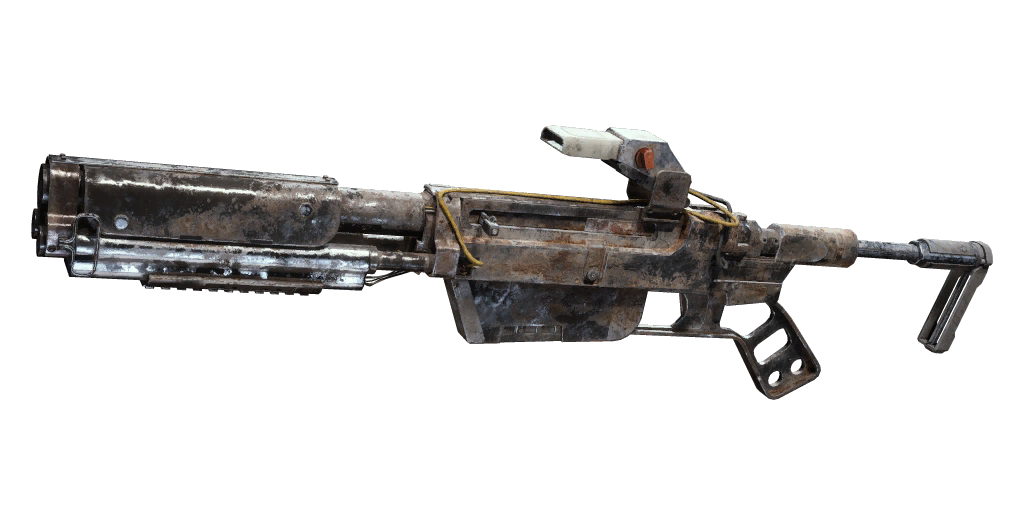
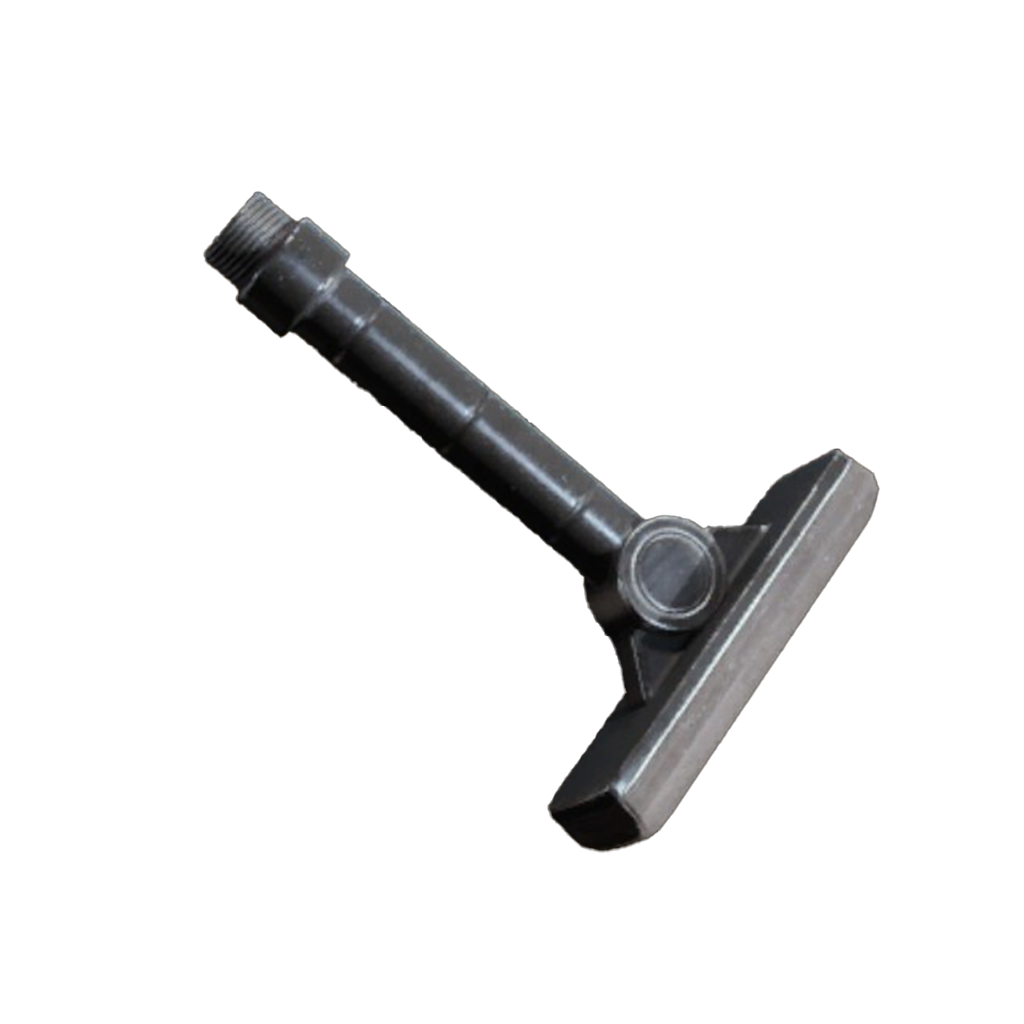
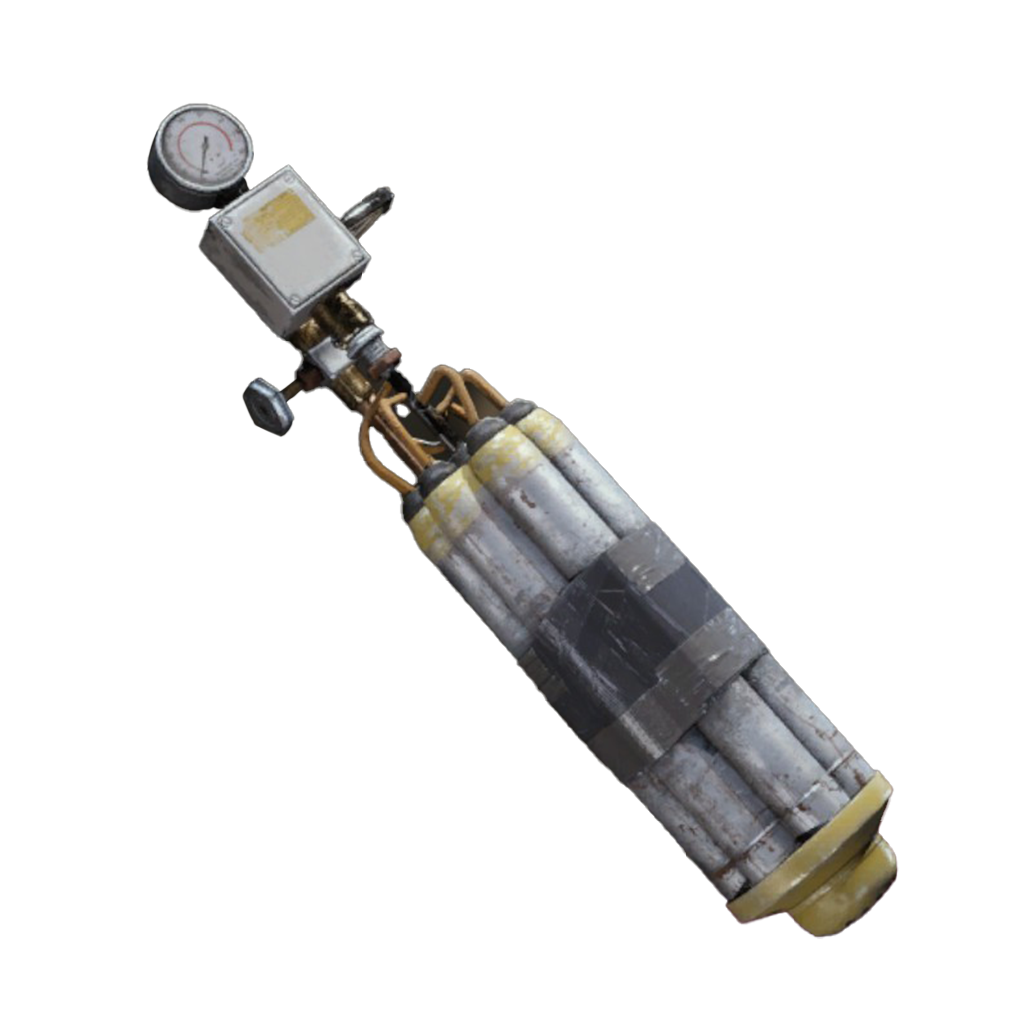
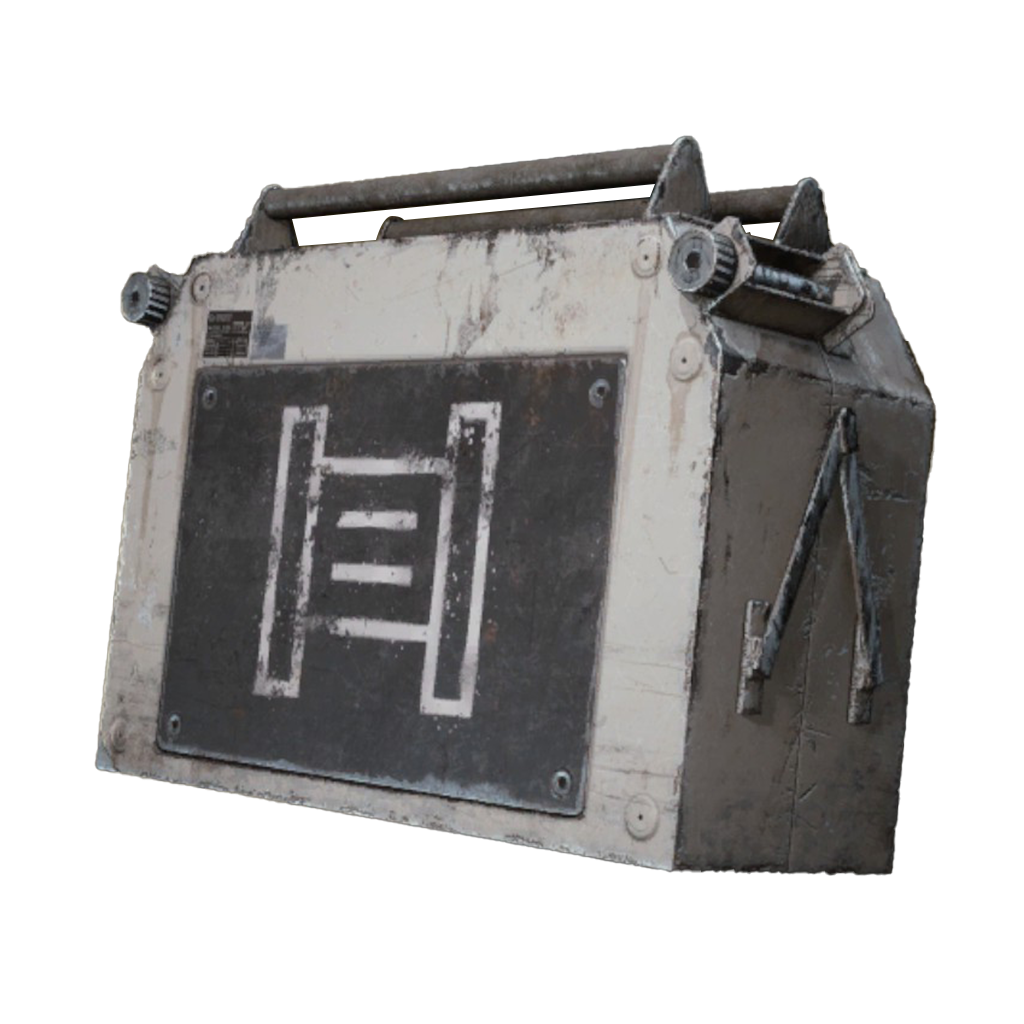
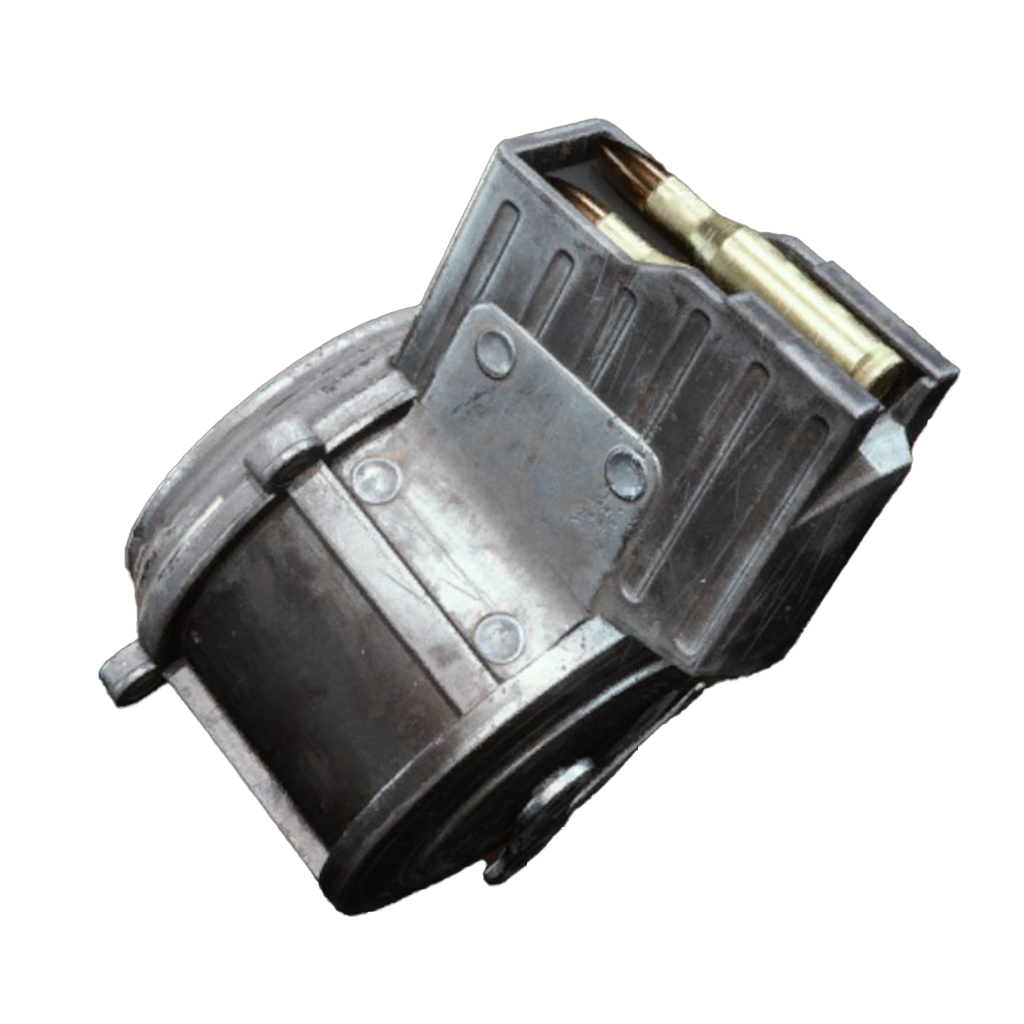
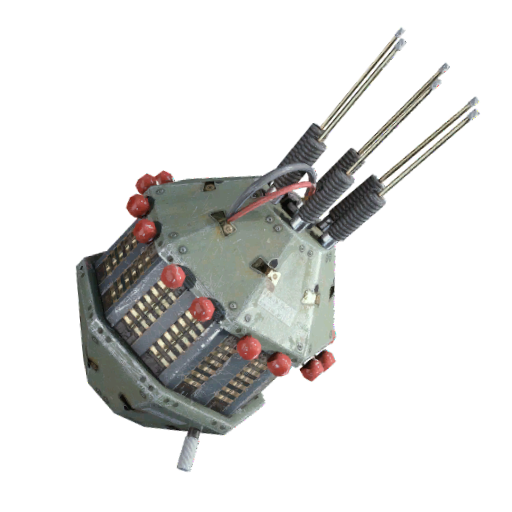
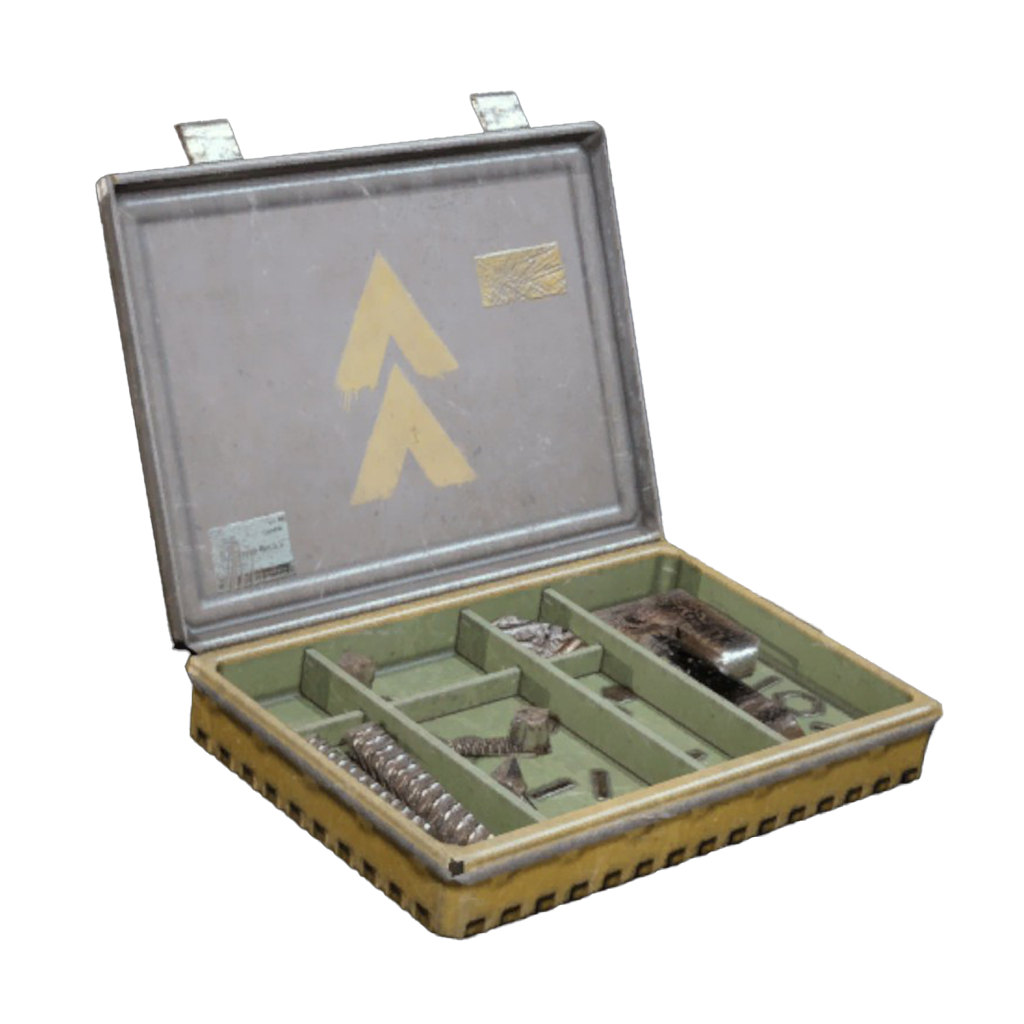
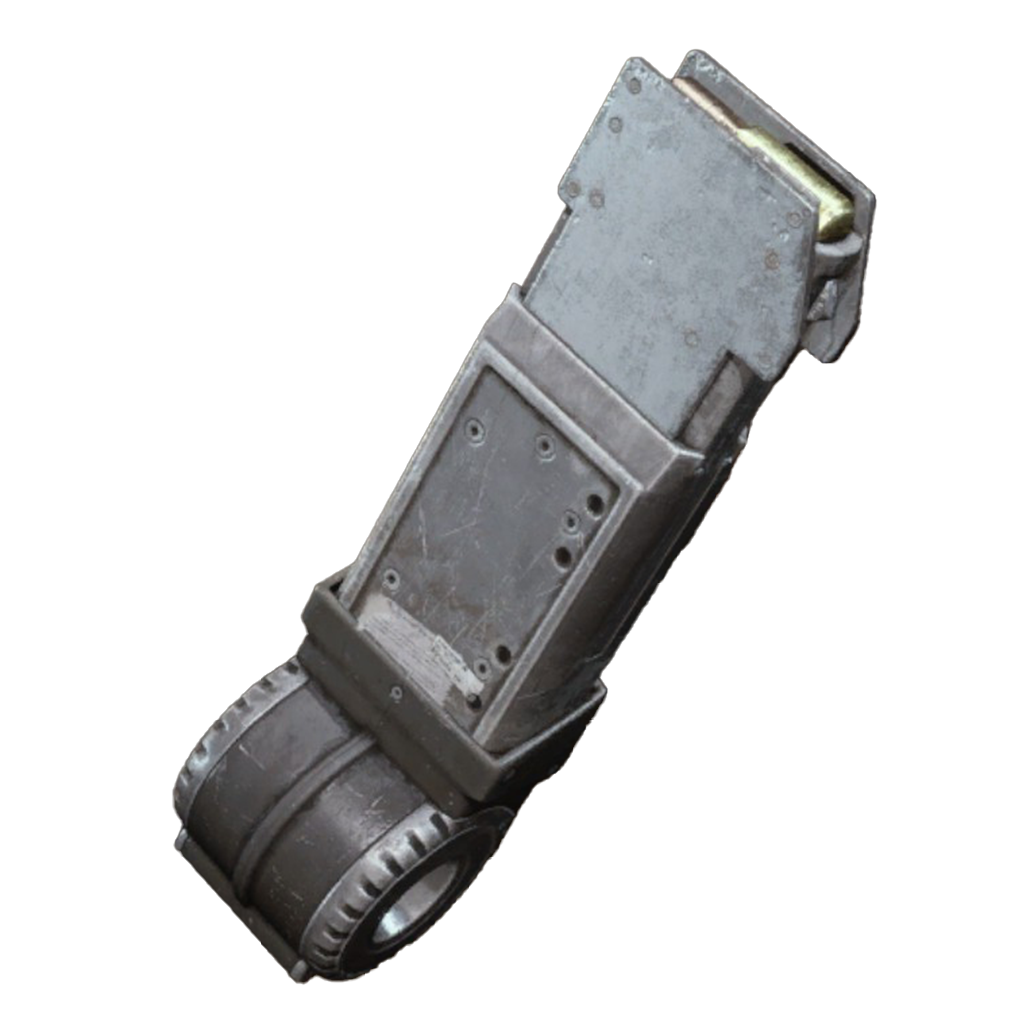
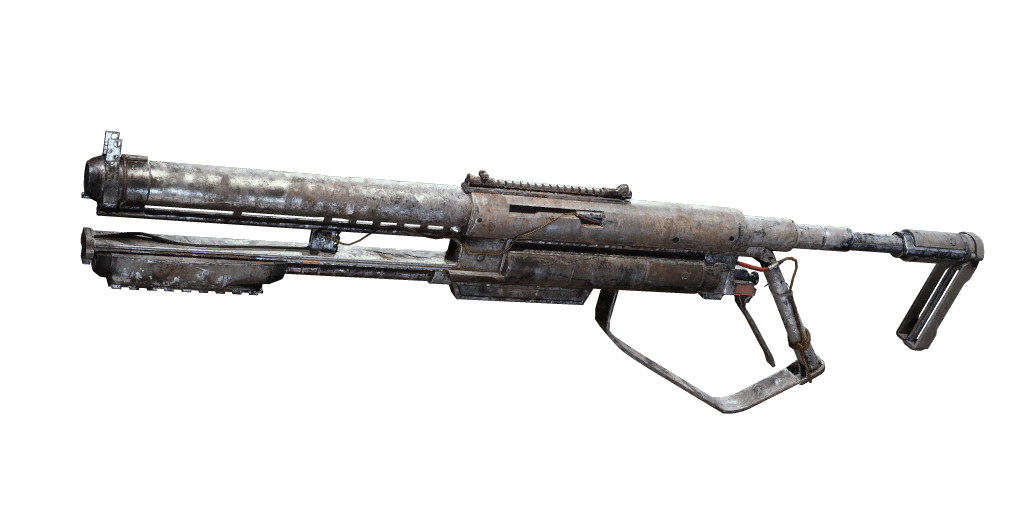
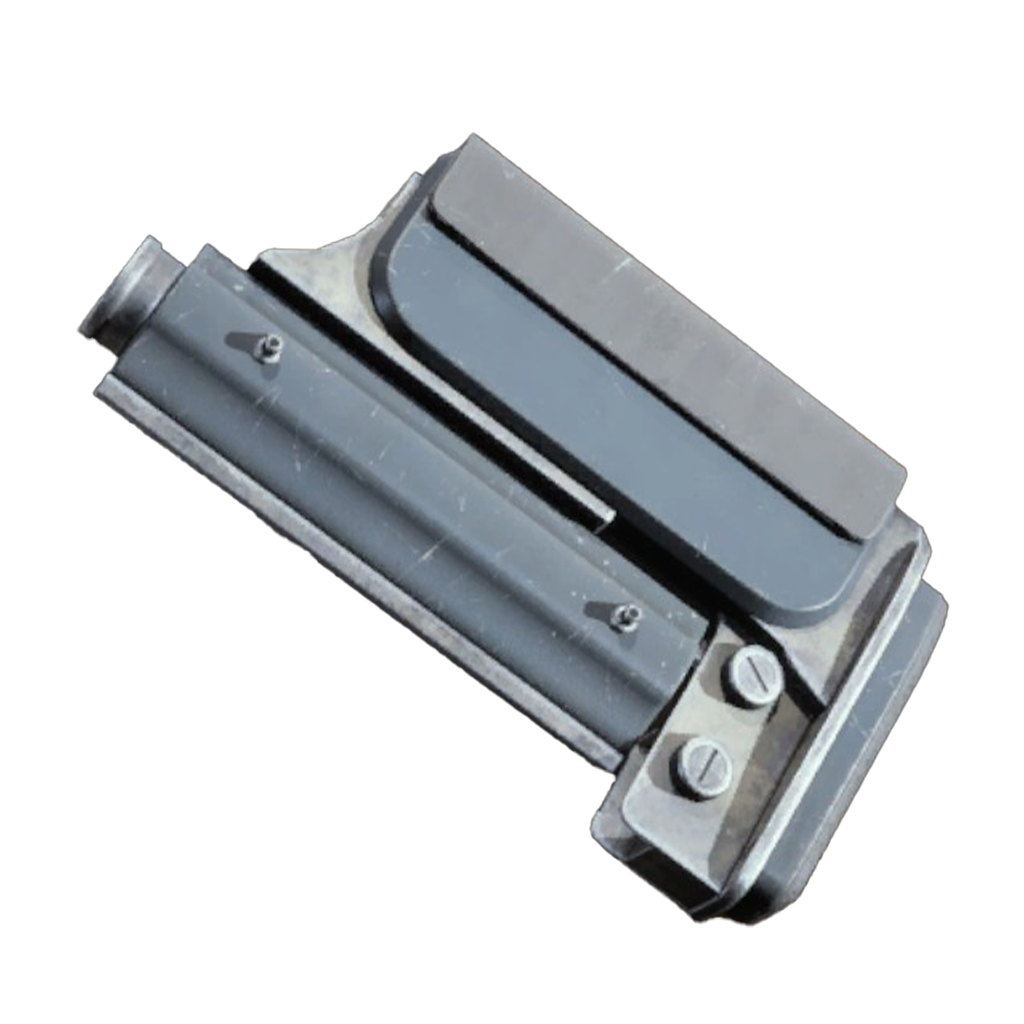
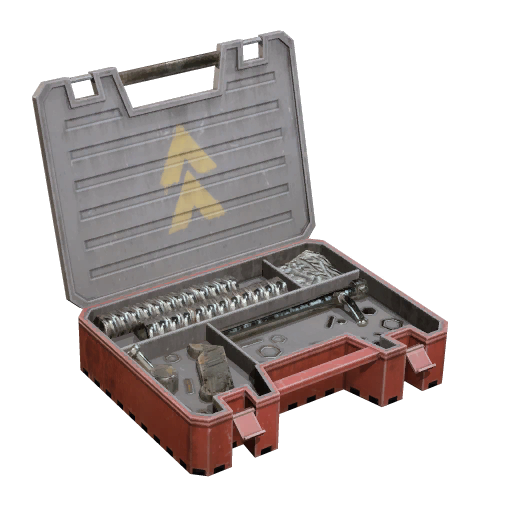
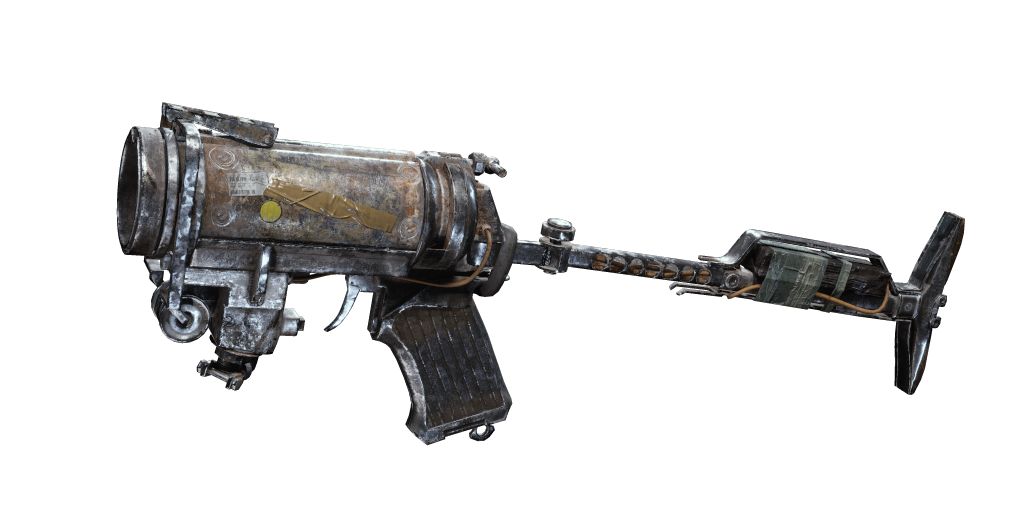
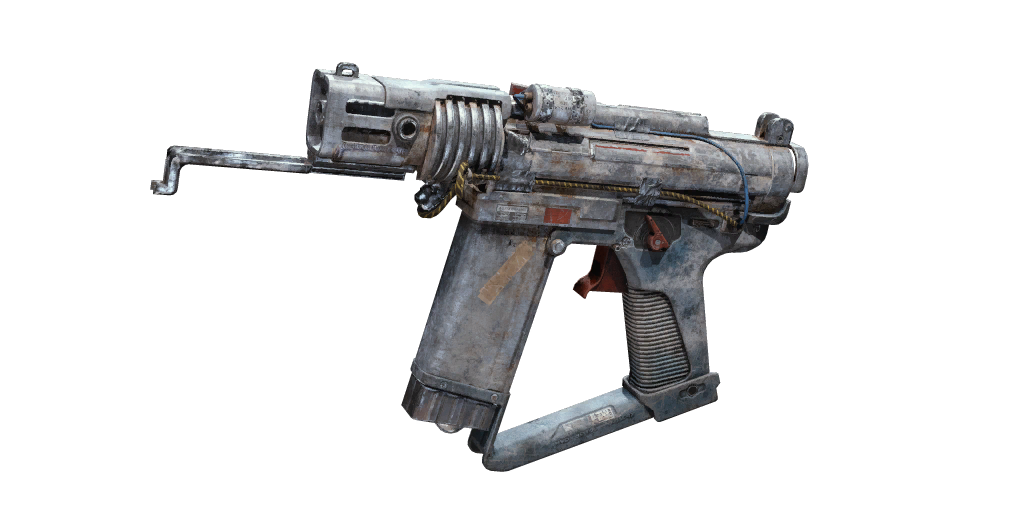
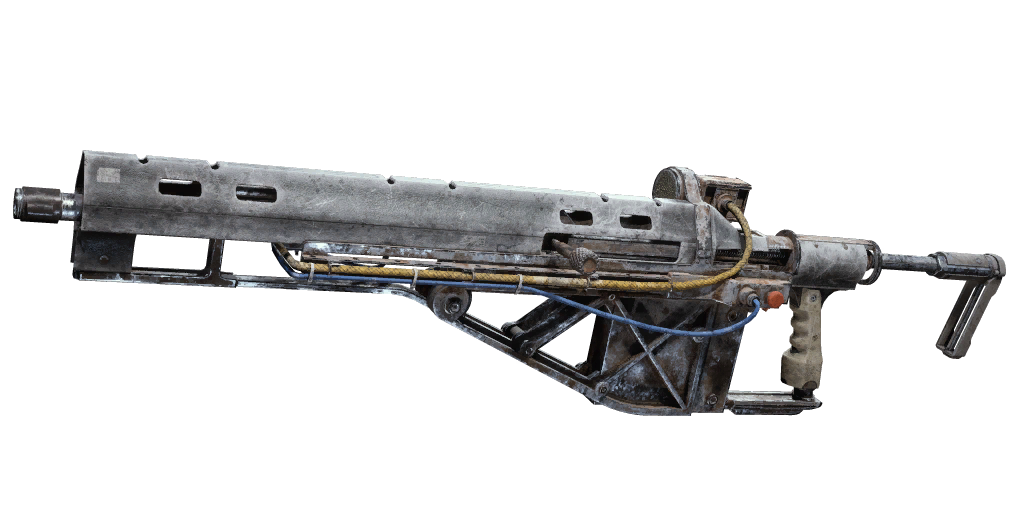
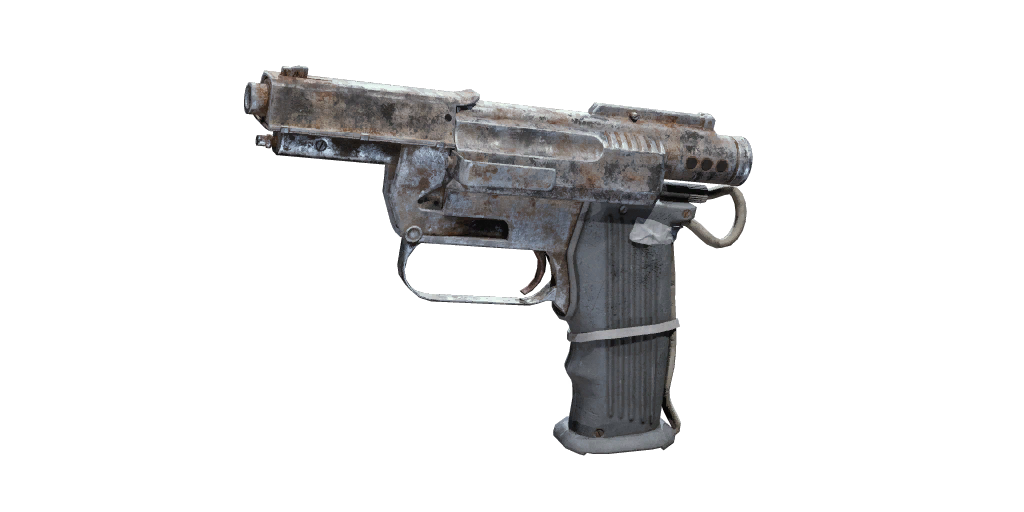
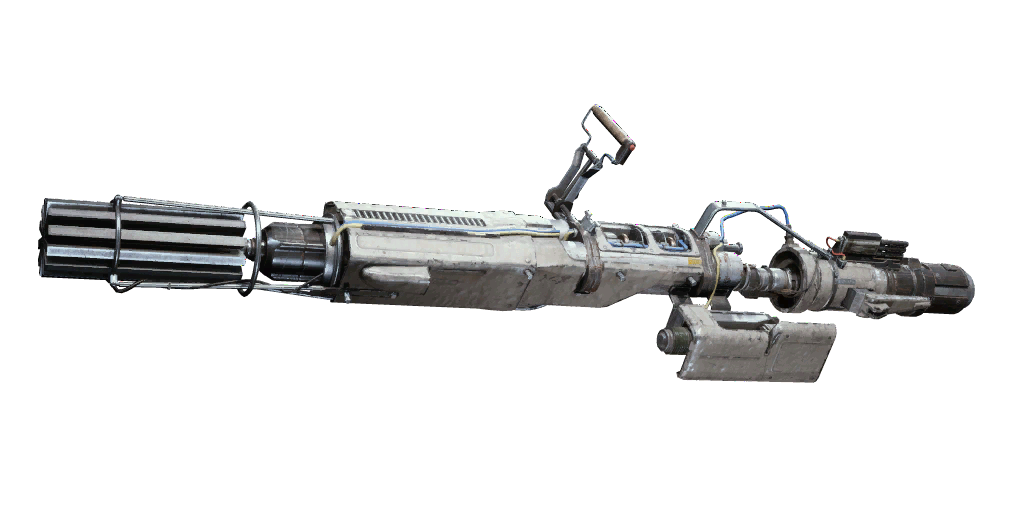
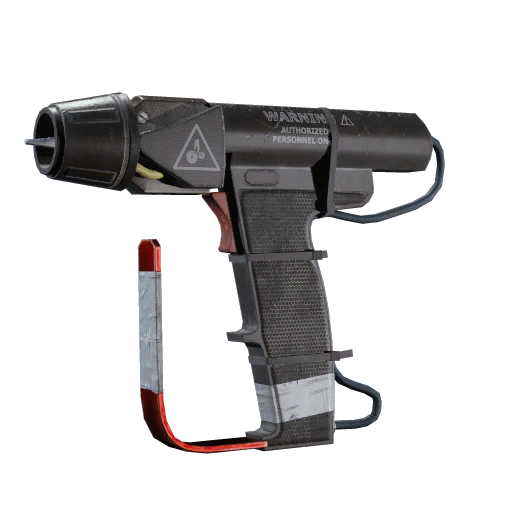
Extended Shotgun Mag III
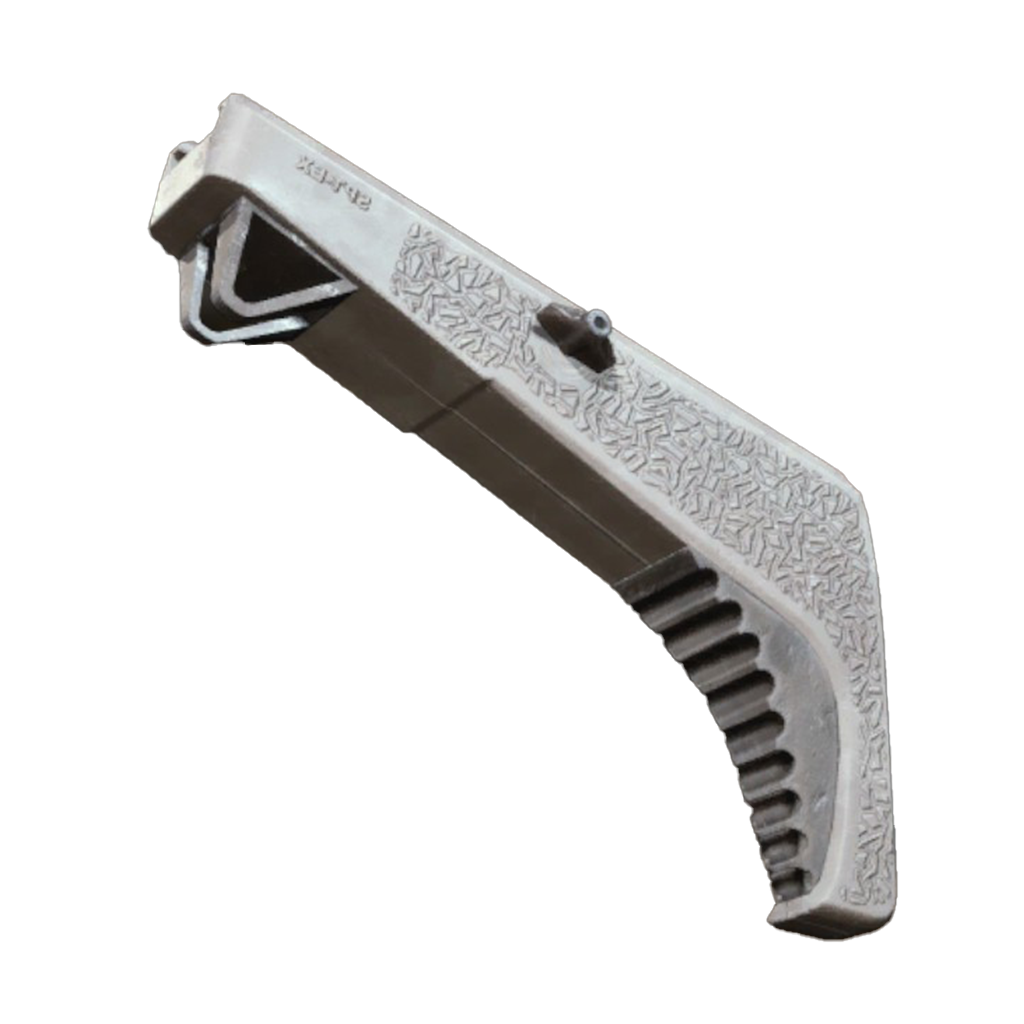
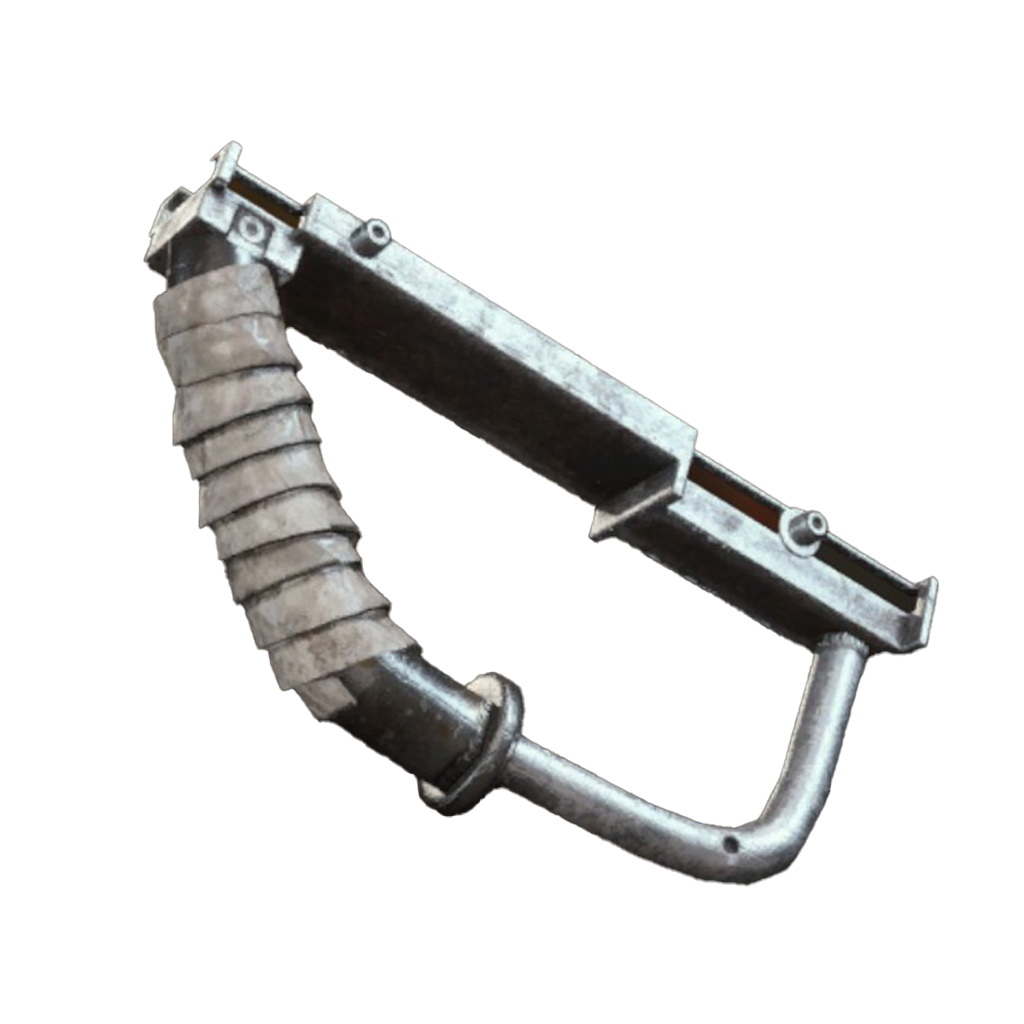
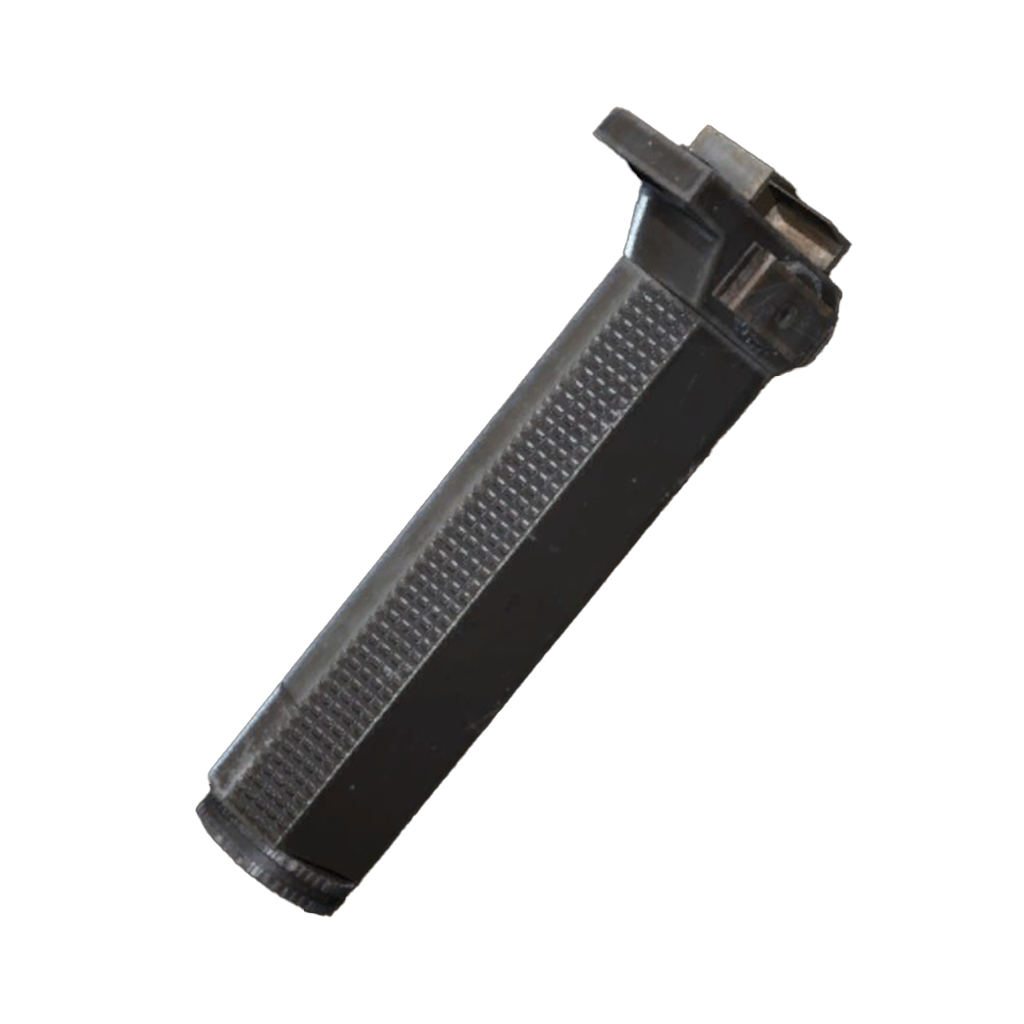
Angled Grip III
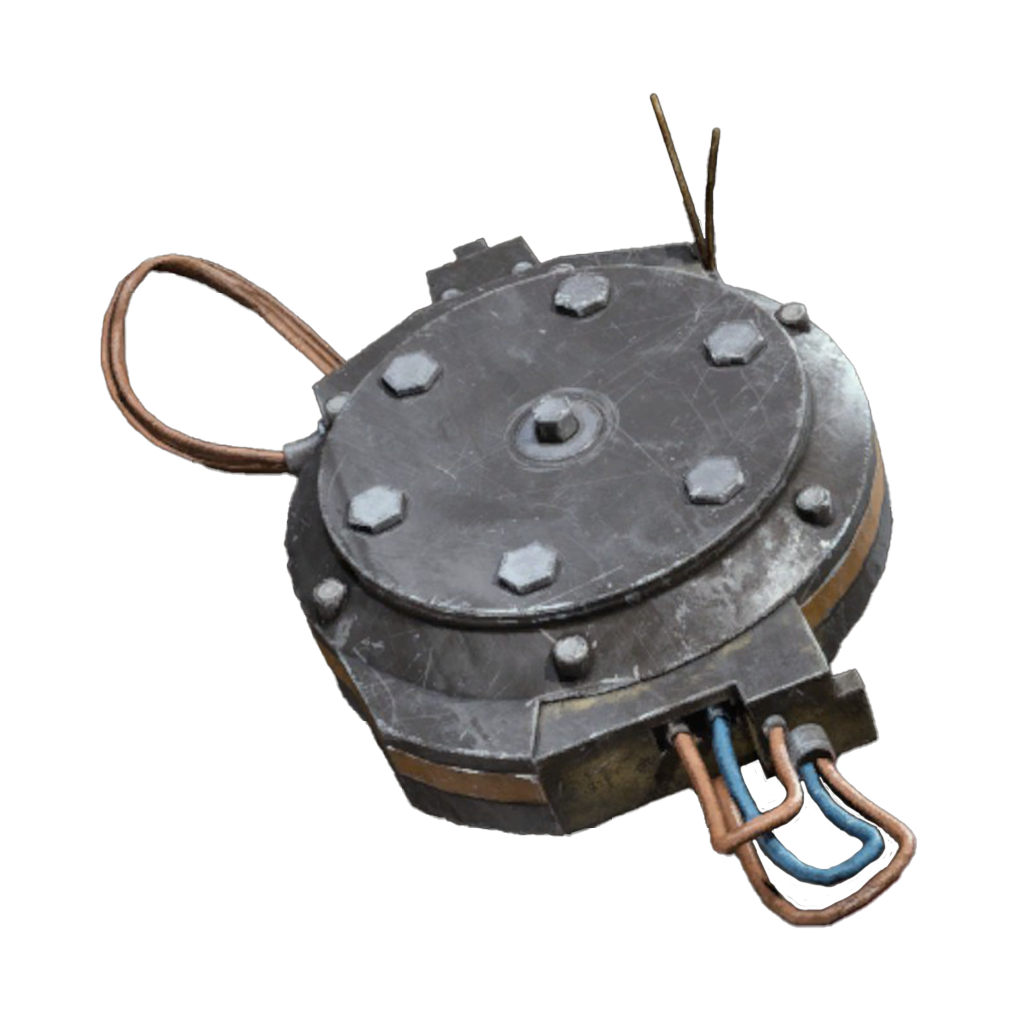
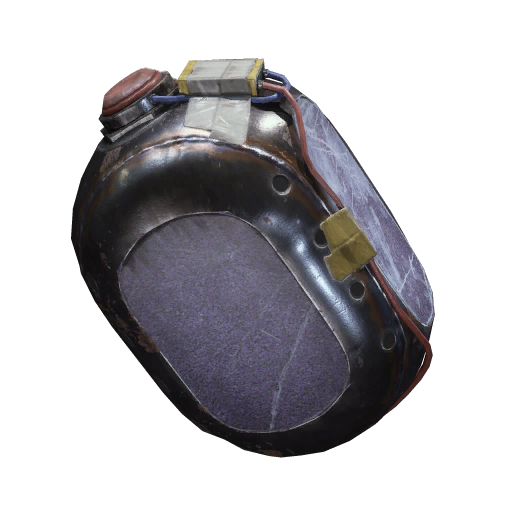
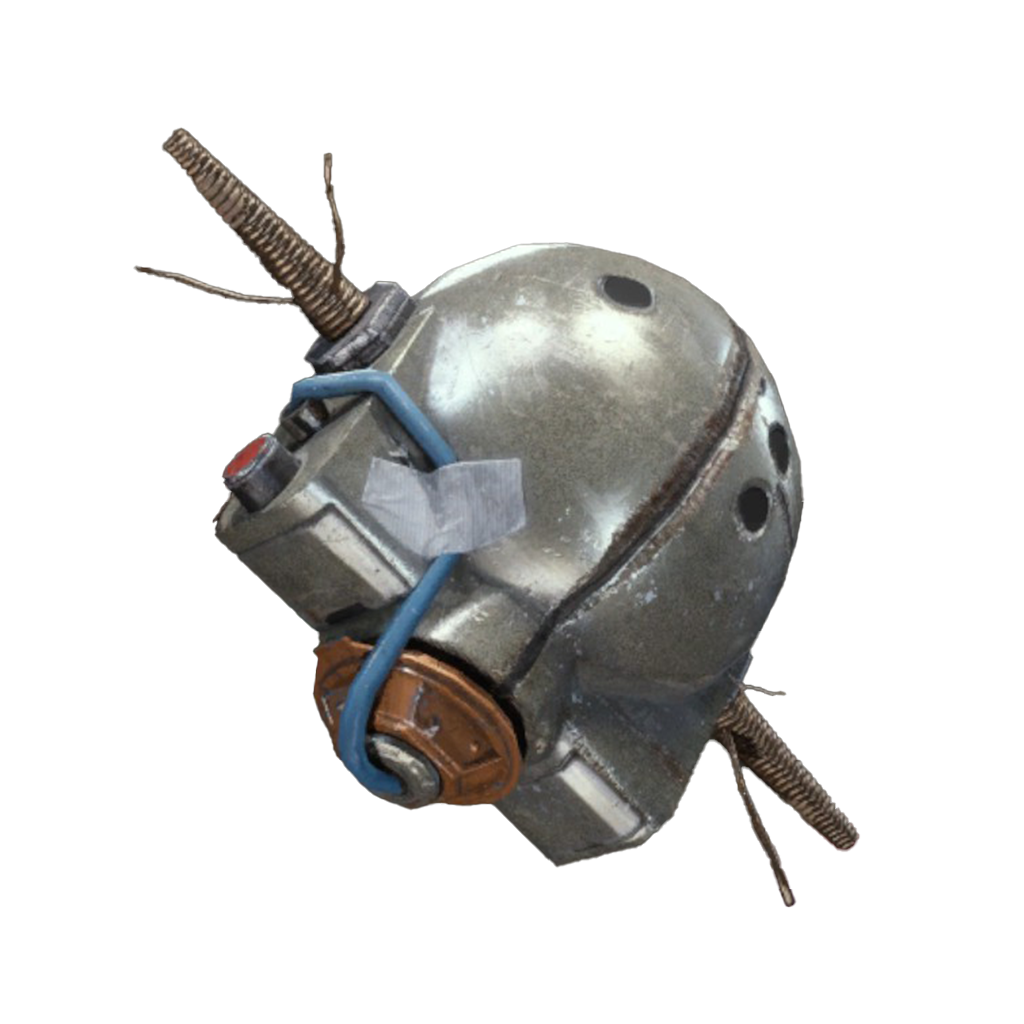
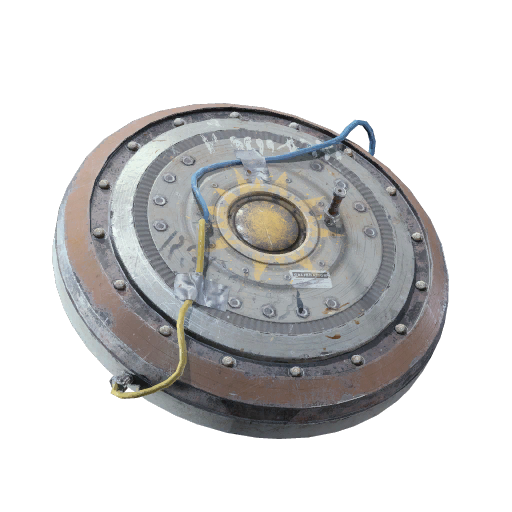
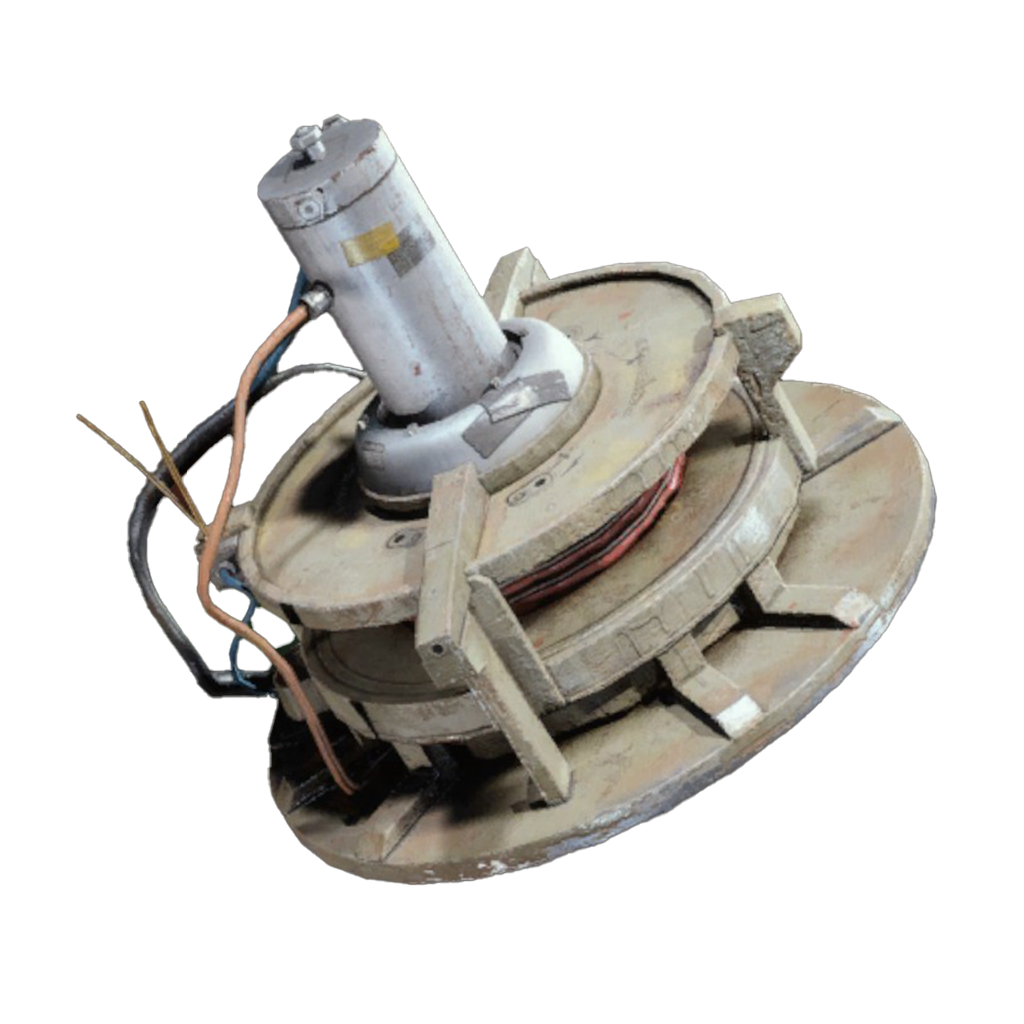
Pulse Mine
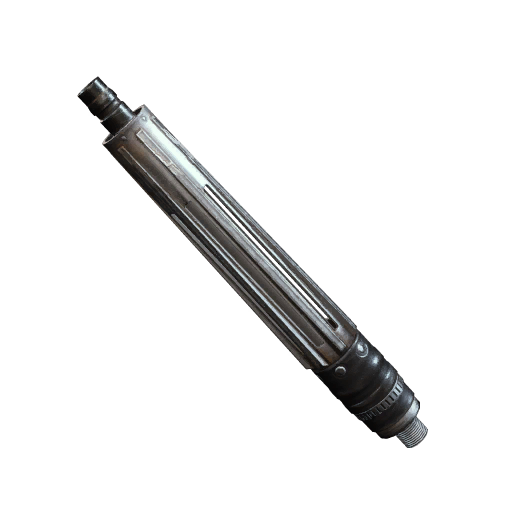
Silencer II
Red Light Stick
Tactical Mk. 3 (Revival)
Compensator II
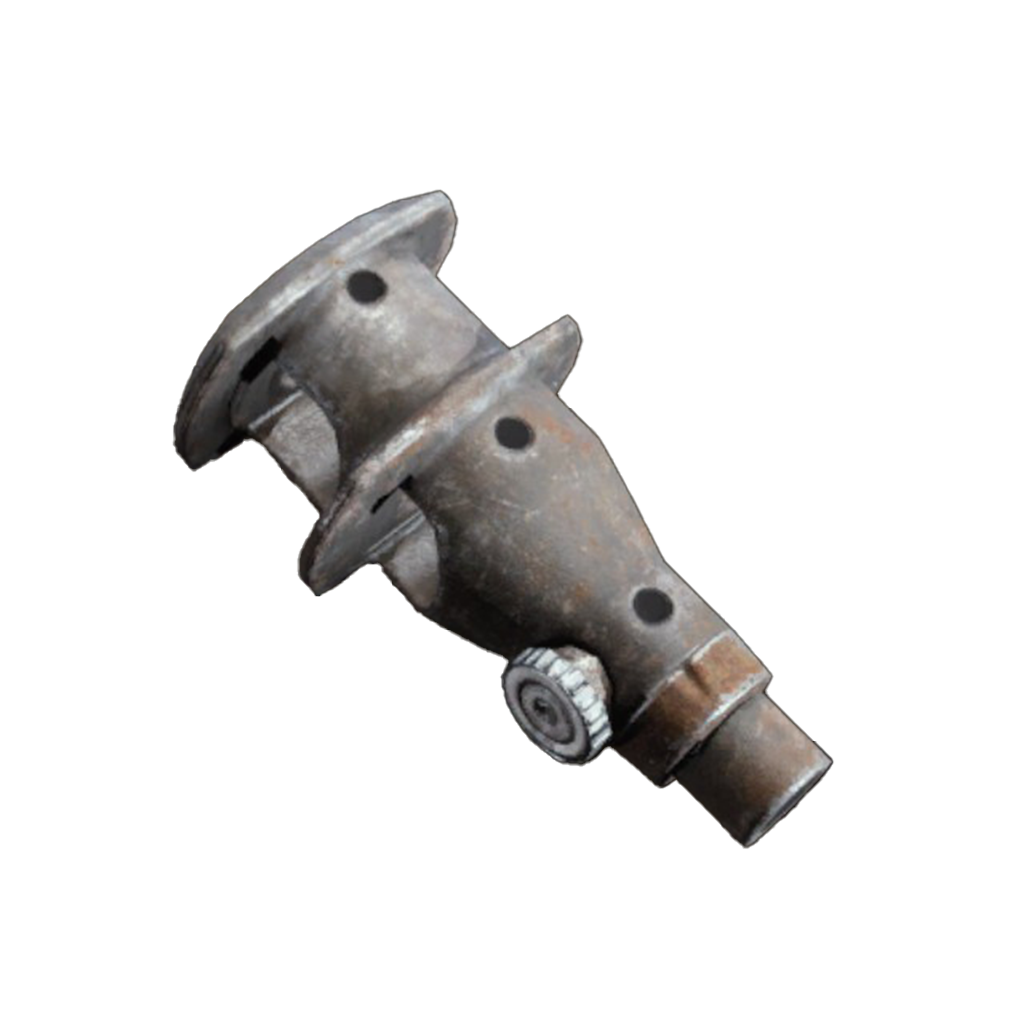
Muzzle Brake III
Tactical Mk. 3 (Defensive)
Vita Spray
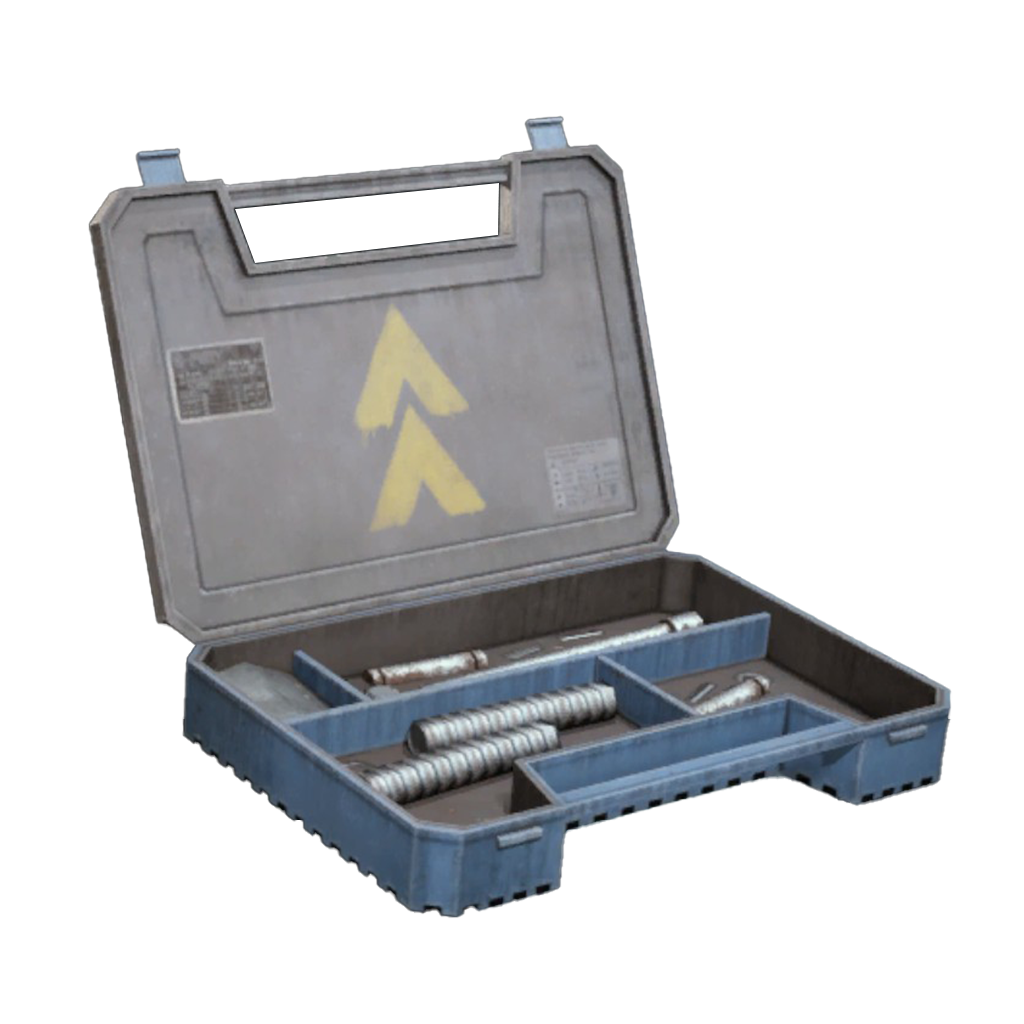
Medium Gun Parts
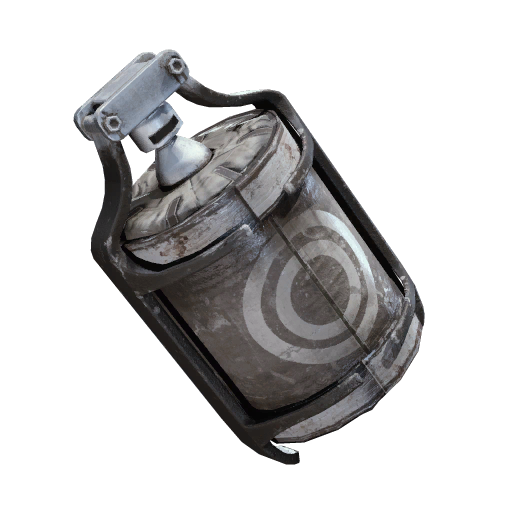
Tagging Grenade
Crash Mat
Bobcat
Defibrillator
Jupiter
Extended Medium Mag II
Tactical Mk. 3 (Smoke)
Smoke Grenade
Dolabra
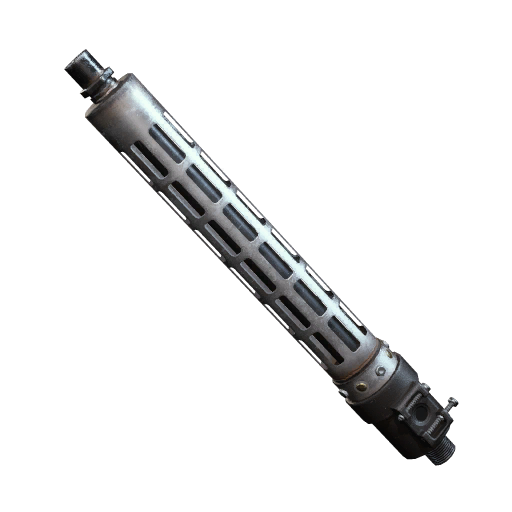
Shotgun Silencer
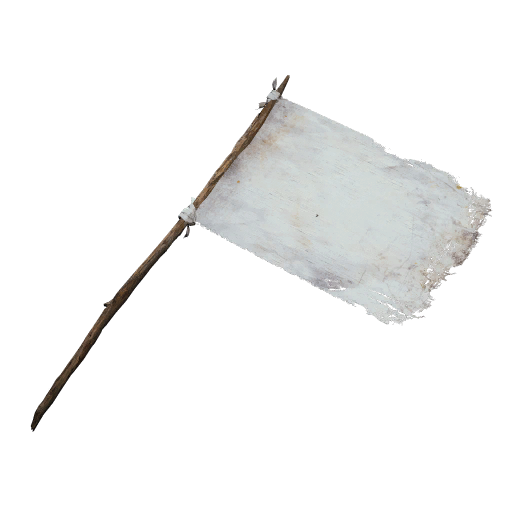
White Flag
Extended Light Mag II
Showstopper
Remote Raider Flare
Angled Grip II
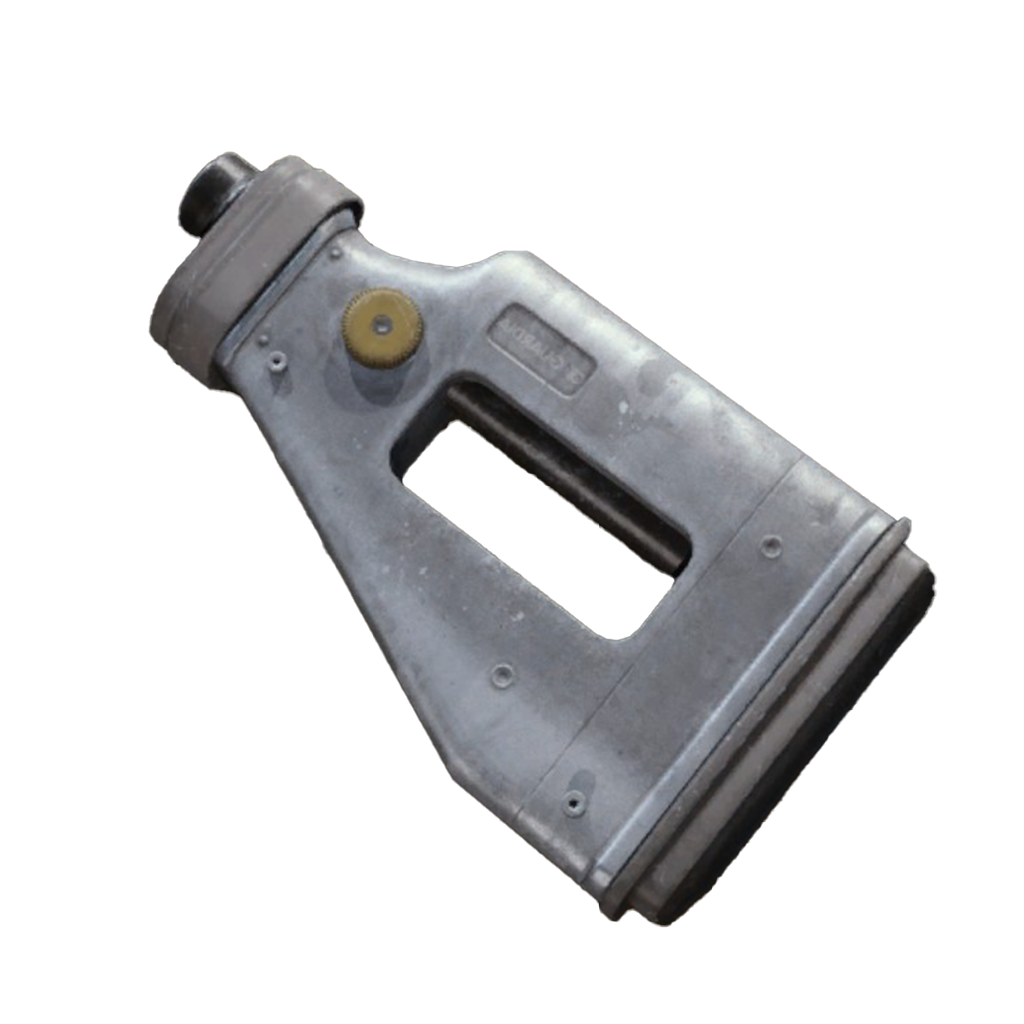
Stable Stock III
Aphelion
Tempest
Tactical Mk. 3 (Healing)
Vertical Grip III
Wolfpack
Combat Mk. 3 (Flanking)
Torrente
Jolt Mine
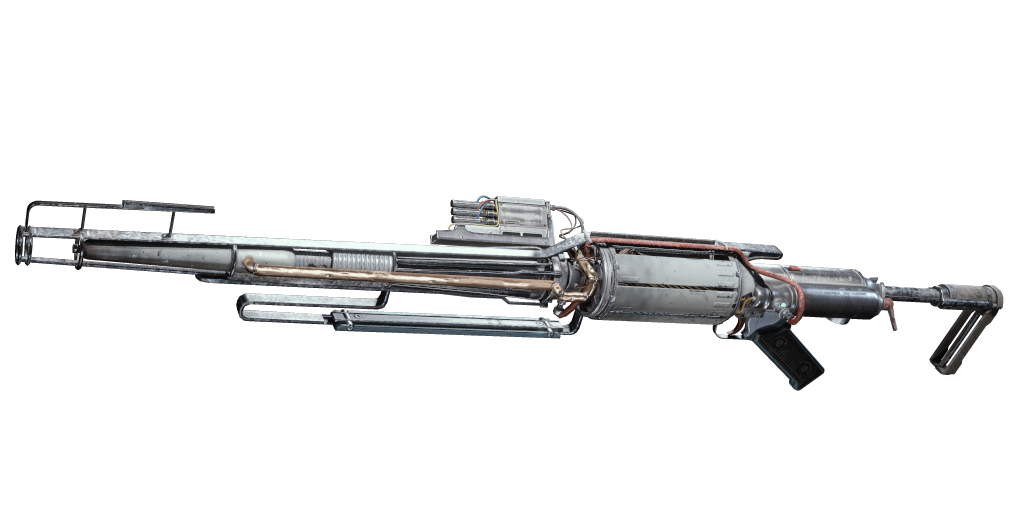
Hullcracker
Vita Shot
Deadline
Shotgun Choke II
Anvil
Osprey
Looting Mk. 3 (Survivor)
Extended Shotgun Mag II
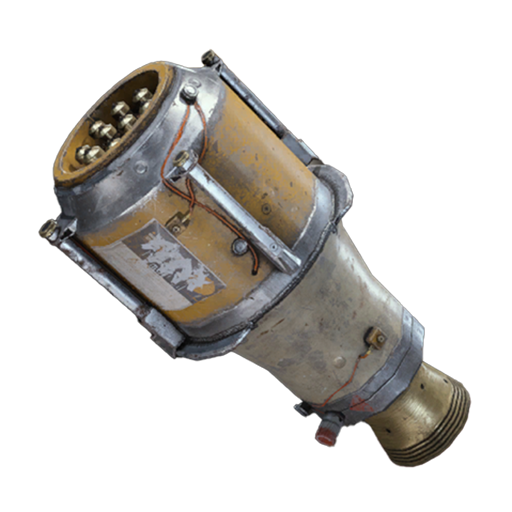
Powered Descender
Compensator III
Vulcano
Lightweight Stock
Trailblazer
Barricade Kit
Green Light Stick
Extended Medium Mag III
Lure Grenade
Combat Mk. 3 (Aggressive)
Light Gun Parts
Extended Light Mag III
Il Toro
Padded Stock
Heavy Gun Parts
Rascal
Canto
Bettina
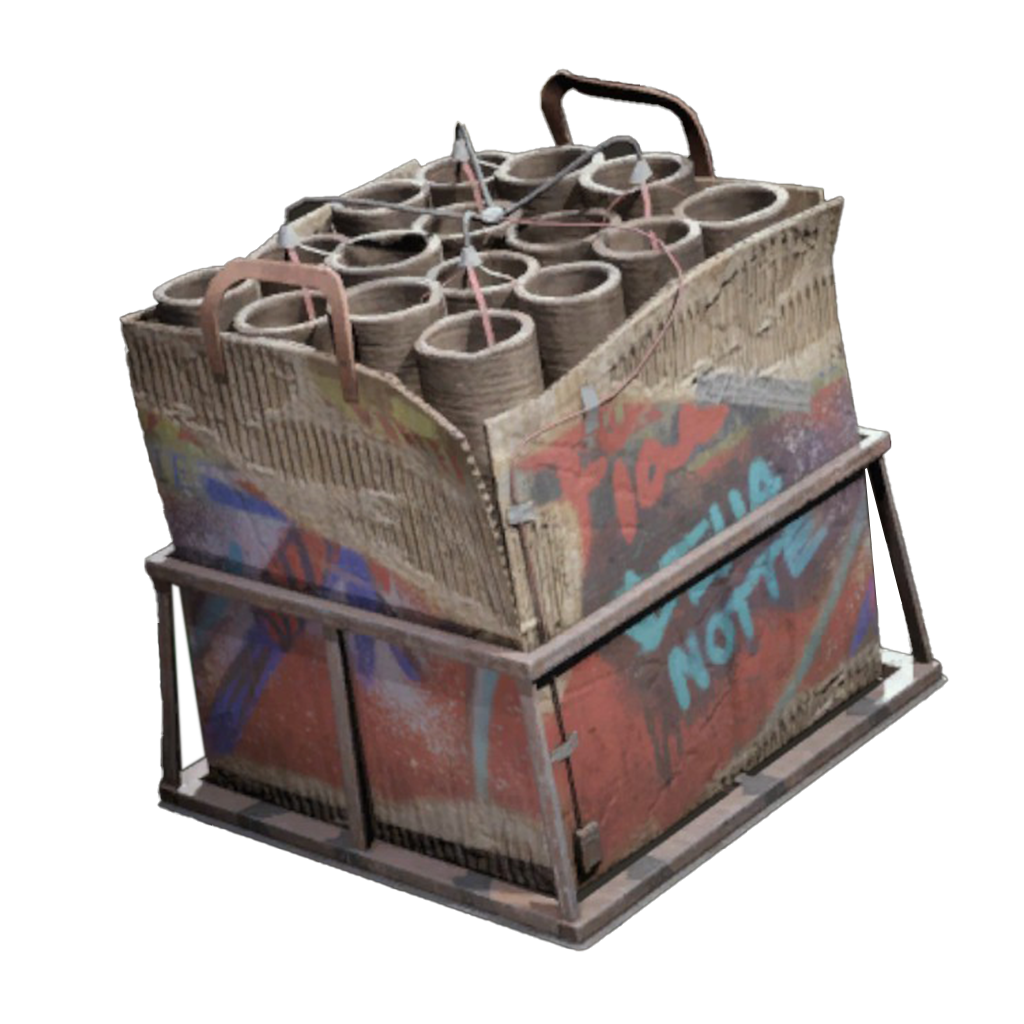
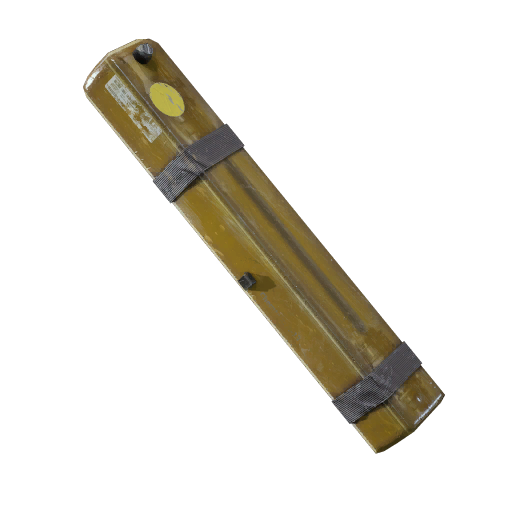
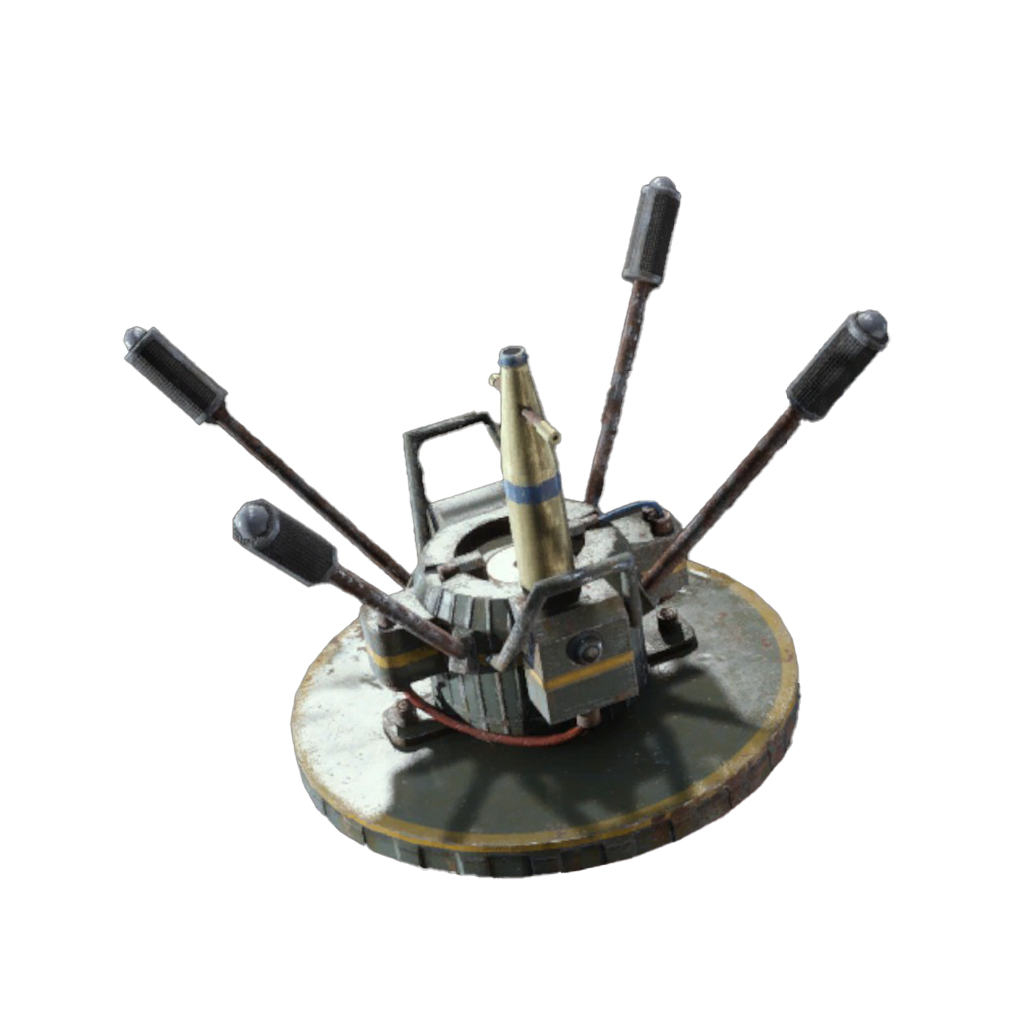
Fireworks Box
Gas Mine
Yellow Light Stick
Looting Mk. 3 (Safekeeper)
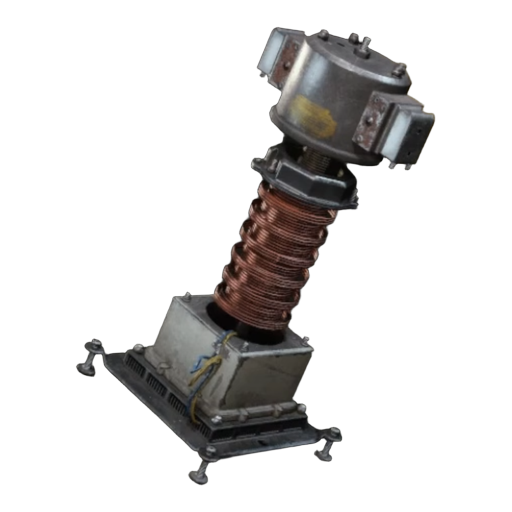
Surge Coil
Complex Gun Parts
Explosive Mine
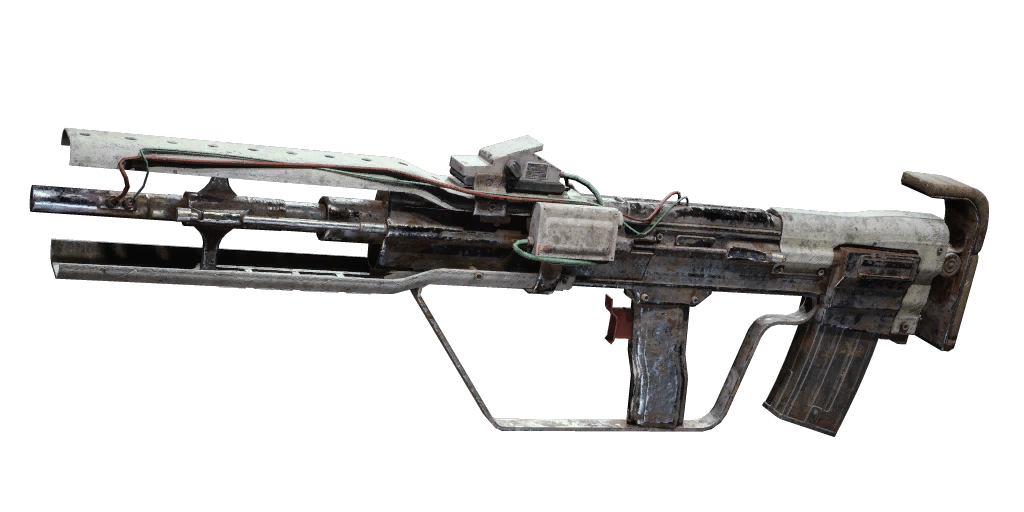
Venator
Stable Stock II
Blaze Grenade
Trigger 'Nade
Seeker Grenade
Silencer I
Shotgun Choke III
Blue Light Stick
Vertical Grip II
Extended Barrel II
Muzzle Brake II
Extended Barrel III
Burletta
Equalizer
Snap Hook
Alive in the pit from the start; killing it drops a Rejuvenator. Respawns 7:00 → 6:00 (2nd) → 5:00 (3rd+).
Spawn rate increases at 20:00 and 35:00; +50% max HP and larger model after 35:00. Respawns 0:30 → 0:25 (20:00) → 0:20 (35:00).
Easy neutral camps across the jungle. Respawns 1:25.
Tier 1 buffs at spawn; upgrades to Tier 2 at 10:00, Tier 3 at 30:00. Respawns 3:00.
Around the map; value grows over time. Respawns 3:00.
Medium neutral camps. Respawns 4:50.
2 pickups on the map. Respawns 5:00.
Hard neutral camps; take 20% less melee damage. Respawns 5:35.
Sacrifice machines appear. Respawns 5:00.
Descends and lands ~12s after spawning. Respawns 5:00.
Opens into a capture point 20s after appearing. Respawns ~7:00 ±1:00.
Reach max damage resistance reduction (-50%).
Reach max damage resistance reduction (-65%).
Damage resistance falls as the match goes on, so they get easier to kill over time.
Spirit resist is fixed at 0% for both.
Base Guardians scale from 40% down to 20% resist per nearby enemy hero.
All Guardians take an extra -25% bullet resist specifically against players.
Damage resistance falls as the match goes on, so they get easier to kill over time.
Spirit resist is fixed at 0%.
Gains extra weapon-damage resist per nearby enemy within 51m: +20% at 3 enemies, up to +50% at 6 (multiplicative). No bonus with 1-2 enemies.
0:00-5:00 waves: 3 Ranged + 1 Medic.
After 5:00: 2 Ranged + 1 Melee + 1 Medic.
Every Golden Statue on the map gives this max HP buff, by tier.
A second group of 8 statues spawns above Mid Boss at 10:00.
Team-wide buffs + instant respawns; ends early once all credits are spent.
Won't always still be up for the first Rift fight, which can spawn anywhere from 11:00 to 13:00.
Every camp (and Sinner's Sacrifice site) only starts its respawn timer once every creature in it is dead. A single survivor blocks the clock.
If a camp spawns with more than one creature tier in it (e.g. some Tier 2s plus a Tier 3), the whole camp follows the respawn timing of its highest tier.
Some sites have two Sacrifice machines guarded by an extra neutral creep. You must destroy both machines and kill that creep before the site's respawn timer starts.
The first Urn always spawns on the map's Yellow side, then alternates Yellow/Green sides each cycle. Picking it up early delays the next scheduled spawn until it's delivered or expires.
Spawns on a random side-lane bridge each time; it isn't confirmed to alternate sides.
Elapsed match time, approximate and subject to balance patches. See Deadlock Wiki for current values.